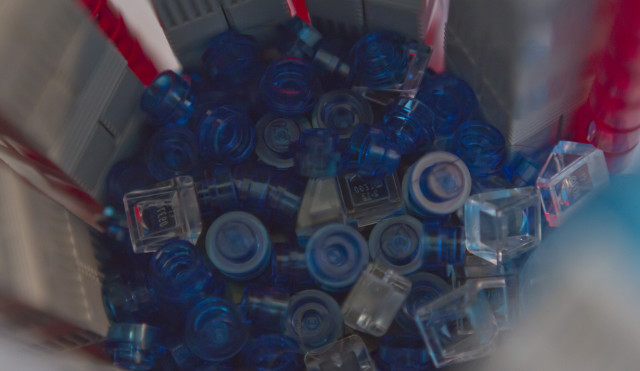
Recently, I went to the LEGO store to get a set for a brickfilm I am currently working on. Every time I visit I always check the Pick-a-Brick wall for any pieces that I want to get. Most of the time I don’t find any pieces that interest me but this time was different. After years of filling these tubs, I have found a packing technique that fit the most amount of bricks in the container. Here are my tips for packing the Pick-a-Brick tub.
Plan Ahead
The tubs are round which is in stark contrast to most LEGO bricks which are rectangular. Planning ahead makes a huge difference into making the most of this space. The most important thing to plan for is the amount of larger pieces you want. I count large as anything the size of a 2×1 brick or bigger. This will make it easier to use space efficiently.
Pack Large Items Together
Filling your container with air is a waste of money. Connecting larger pieces together makes a huge difference in minimizing air space.
Build Around the Container
The container being round is really bothersome and will take some ingenuity to build around. I build several columns that I put in a circular pattern around the edge of the container. I used 1×1 round bricks to fill in the wedges created by the 1×2 columns. I also placed a block I created out of a flat panels in the center. This will help the columns keep their its shape.
Filler
Now I used some of the smaller pieces to fill any open space that has been created. I call this filler and it makes a huge difference and the amount of LEGO that will fit in the container. I used 1×1 round plates and similar sized pieces. Anything larger will jam up and create air pockets. Later on I used flat tiles and similar sized pieces for filler but this was only at the top. The reason for this is because I had already used the smaller pieces to fill the smaller crevices below.
Take Full Advantage of the Containers Shape
The lid had a LEGO bump which gives even more space to fill. I build a 4×4 Column to fill this space up. Also the bottom of the container has small circular channel. Be sure filler makes it to this section. I wiggled the side columns up and down to let some of the filler fall into this space.
The Results
Using these techniques, I greatly increased the amount of LEGO bricks I took home and all it cost me was a little over an hour of my time. I disconnected all the pieces and placed it back into the container like I had just grabbed the bricks from the wall and threw them in. As you can see in the image below with these techniques I almost gained a small tub in LEGO extra. I think the time spent packing the container is well worth it for the extra amount of bricks you get and I do this every time I get a Pick-a-Brick tub.


